

Are you ready? Yes, then grab some snacks, sit in a comfy chair, have your laptop in front of you, and let’s get started. We are going to introduce React Native and a complete set up with the hello world program.
Building a mobile app is not at all easy! Nothing is easy. If you are an App developer, a big salute to you. Learning a Language, typing code, finding an error, testing it, is not at all easy. Other than that variety of devices in the world makes it more difficult to run apps on every device.
Android and iOS are the two most popular platforms right now. For iOS, we have to write in Swift and Android in Java. Thanks to React Native and Flutter, we can write a single code and run it on Android and iOS.
Today we will talk about React Native developed by the Facebook team with a well-liked library called React.
So, What is React Native?
React Native is an application development framework that uses web technologies to build applications like HTML, CSS, and JavaScript. It will be an advantage for you if you are a Web Developer and starting a path in App Development. Once again, you don’t have to write code in Swift for iOS and Java for Android apps. React Native is here to help us.
Most trending apps use React Native like Facebook, Airbnb, Discord, Instagram, Bloomberg, Wix, and even Skype.
Getting Started with React Native
It was easy for me to get started with React Native, and I will try to help you to understand it. I told you if you are a Web developer, it will be much easier for you. For React Native, you require Node.js and Node Package Manager (NPM) installed with Code Editor and Expo.
That’s it? Yes.
If you don’t understand anything, don’t worry, I will help you to understand it properly.
Installing Node.js
Here I am using Windows operating system. If you previously installed Node.js, you can skip this part and proceed further.
Ryan Dahl created Node.js and presented it at the European JS Conference in 2009.
According to Nodejs documentation, Node.js is an open-source and cross-platform JavaScript runtime environment. It is a popular tool for almost any kind of project! Node.js runs the V8 JavaScript engine, the core of Google Chrome, outside of the browser. It allows Node.js to be very performant.
Want to know more about Node.js you can visit here.
You don’t have to learn more about Node and NPM right now, and it not a post about Node and NPM.
So now let us download it.
Visit Node.js and follow the below procedure.
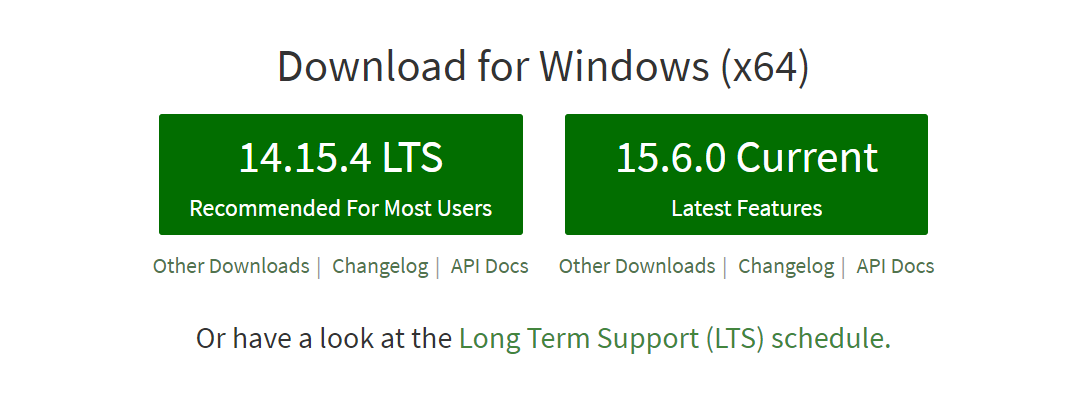
You can see mainly two versions Latest version and the Long-Term Support(LTS) version. The latest version means it is new, and many developers haven’t used it. Most developers use Long-Term Support since it is stable with approximately no errors.
You can use any of this, I prefer to use the LTS version.
It is an easy process to download and install.
Once you installed Node.js, it means that you also installed NPM(Node Package Manager).
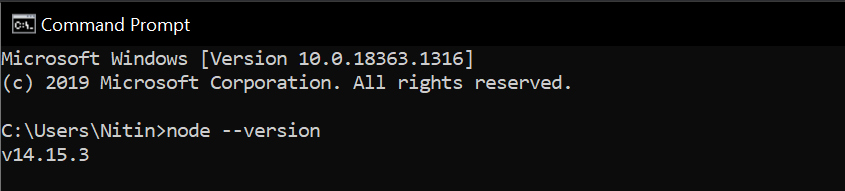
Once you installed it, you can check it from a command prompt. Open your command prompt and type
node --version
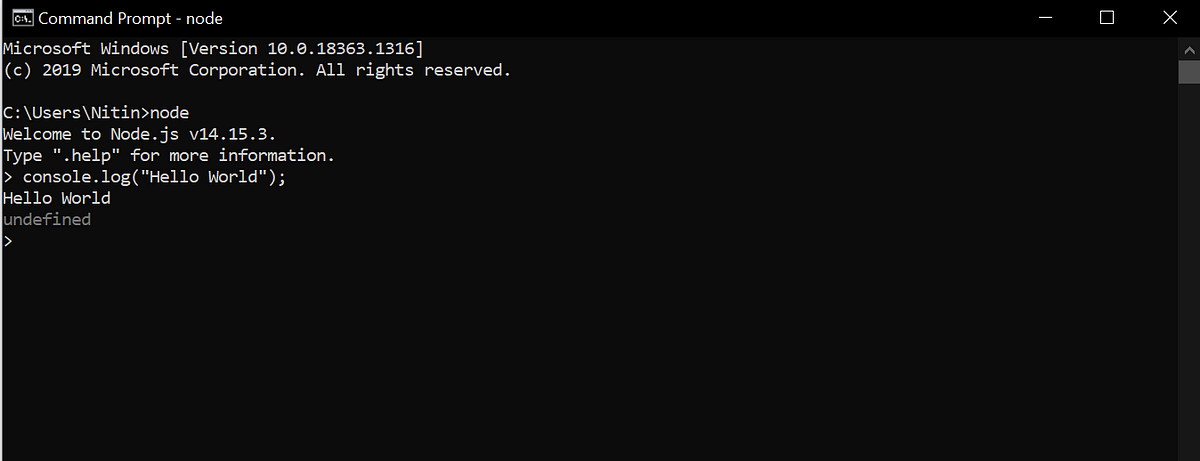
Want to play with it? Open your command prompt again, and type node and then enter, and type
console.log(“Hello Everyone”);
Installing React Native
Once you installed Node.js, you also have installed NPM (Node Package manager). NPM is simply a package with Node. So you don’t have to download it.
Now get started with React native. Open your command prompt and install React Native globally through the given command
npm install -g create-react-native-app
This command will install the react-native package globally(-g) using NPM. You can install it to any directory based on your choice.
To know more about it, you can also visit React Official Website.
It is a simple, facebook tutorial to create a react-native app.
After you installed this, you can write code in VS Code or any code editor according to your wish.
Starting with Expo
React Native can be run through React Native CLI or using Expo.
Nitin, What we choose? Expo, my friend.
It is
1. Simple to install.
2. Developer friendly.
3. Fast.
4. Run it on your mobile
Also, Android Studio/XCode is not needed.
So if your PC laptop is not capable enough, then also you can run it through Expo.
To know more about it, you can visit Introduction to Expo – Expo Documentation.
How to install it?
Open your command prompt and type
npm install — global expo-cli
This command will install expo-cli globally.
Now install the Expo app on your mobile.
Open App Store or Play Store and download Expo.
That’s it.
Simple Hello World App
Open your code editor, I will be going to use Visual Studio Code.
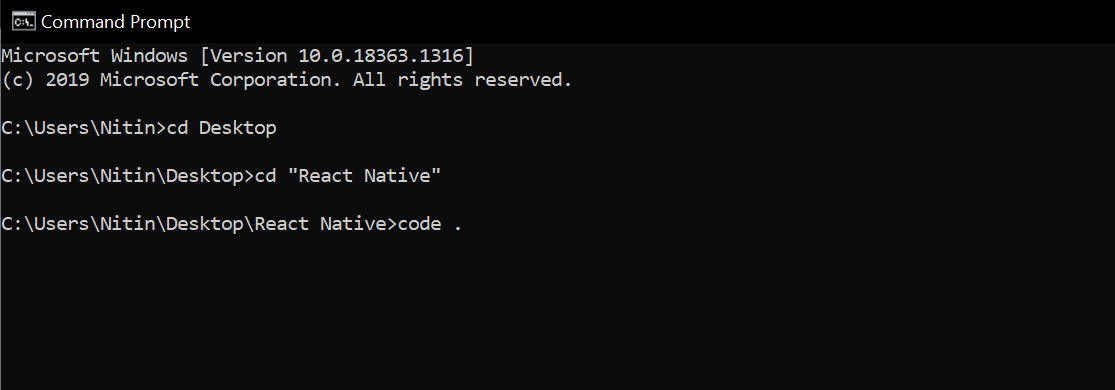
I am going to create a folder on the Desktop with the name React Native.
And open it inside Visual Studio. Open your command prompt and go to React Native folder and type
code .
like as shown below.
And press enter then Visual Studio Code will be going to open.
Now, we will be using the inbuilt command prompt present in VS Code.
Type control + backtick, and the terminal will pop up inside VS Code.
ctrl + `
Now create your first React Native App using the following commands.
expo init HelloWorld
It will create a HelloWorld app inside React native folder. Press enter and then type
cd HelloWorld
cd means change directory or changes your folder.
Press enter and type
expo start
It will be going to start your app.
That’s it.
Now you will be going to see the HelloWorld folder as shown below.
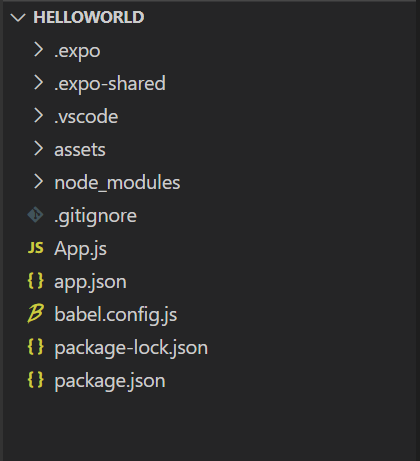
Here you will mainly work in App.js
Open App.js in VS Code and you will see like this
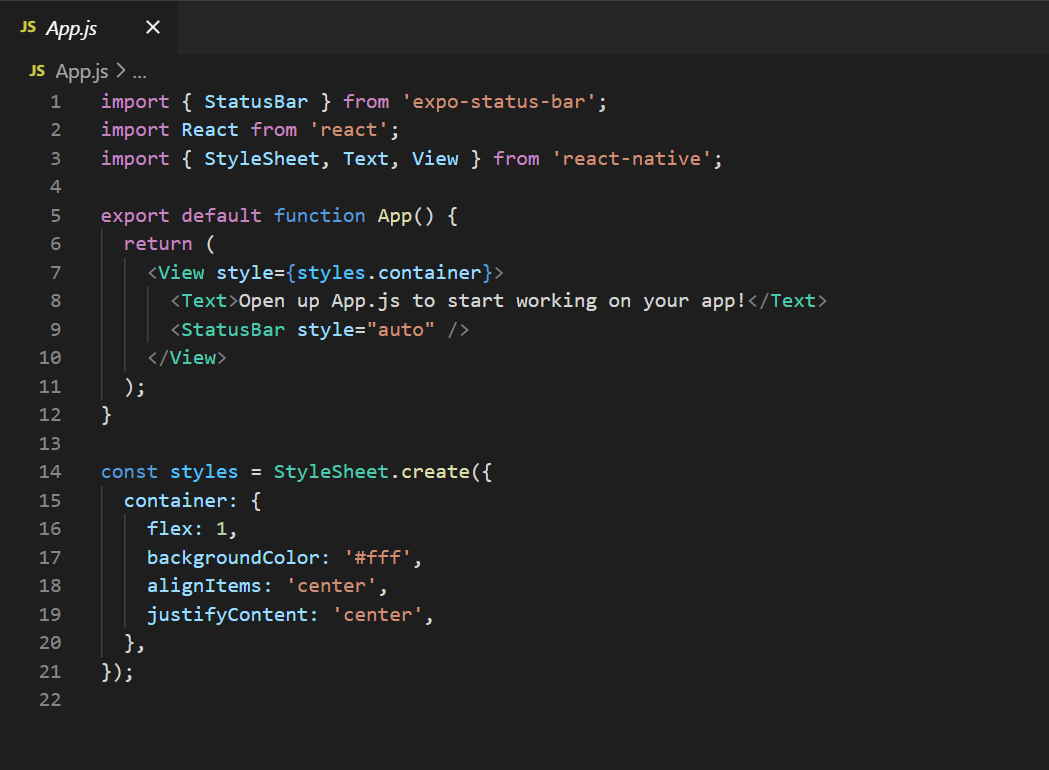
Cool enough! Here we can understand it since we are Web Developers (Not all of us but many of you).
You can see
<Text>Open up App.js to start working on your app!</Text>
Change it as shown below.
<Text>Hello World!</Text>
Open your in-built terminal in VS Code through
ctrl+`
And run your program by typing npm start.
npm start
You can also type expo start instead of npm start.
Lastly, you will be going to see a similar screen.
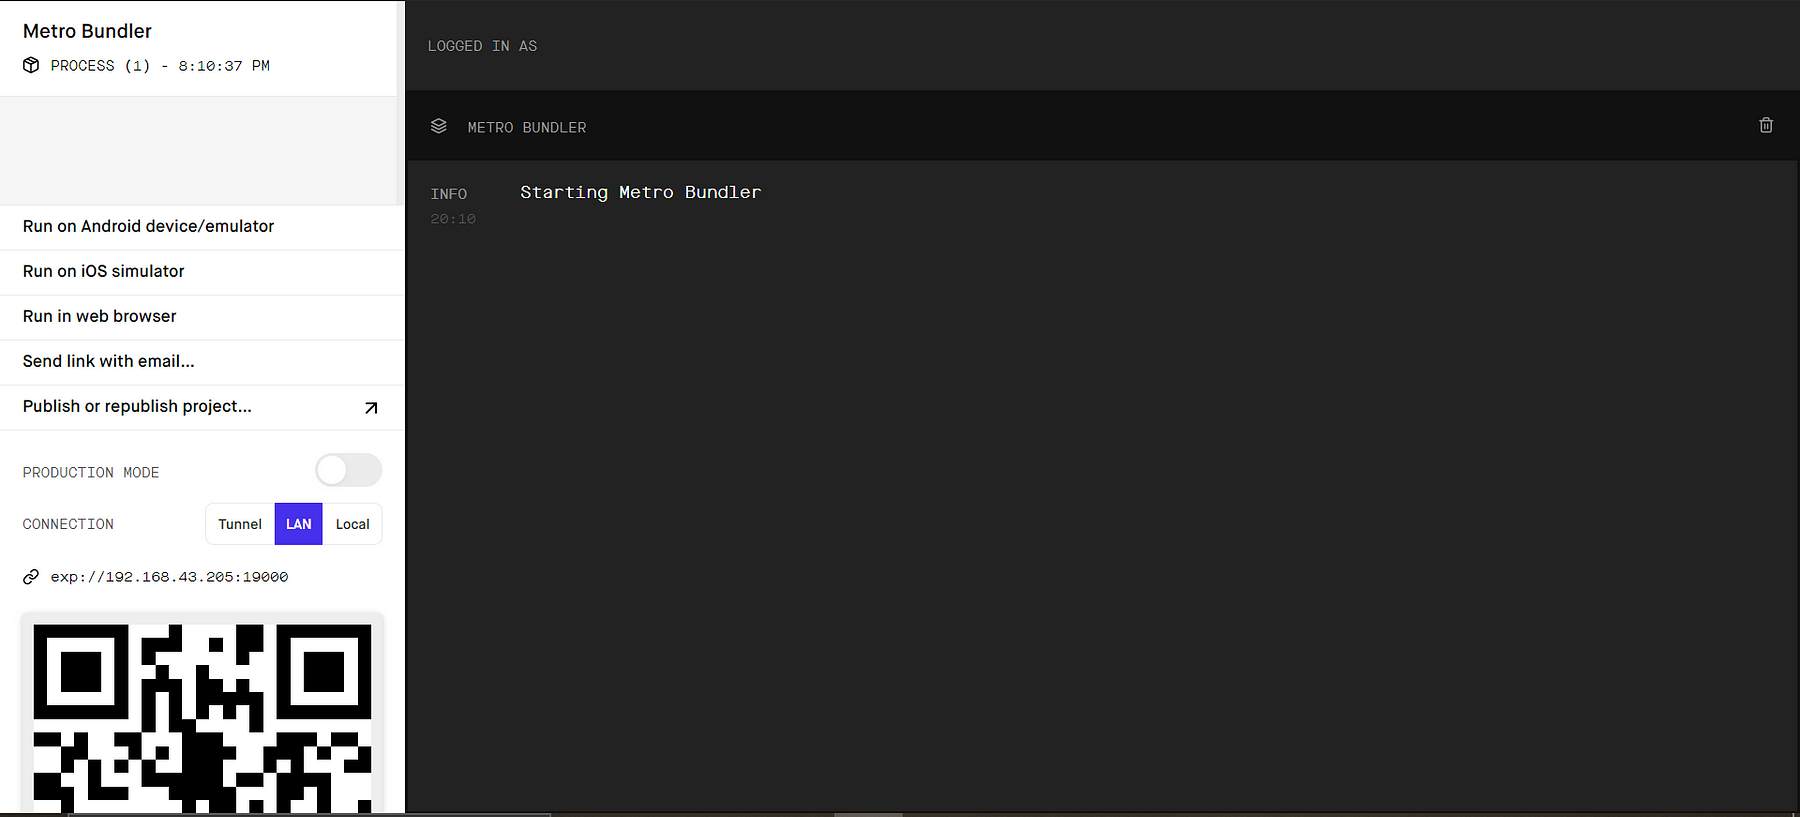
Scan the QR Code present at the bottom-left corner in your Expo app.
And you will be going to see your app.
I hope you enjoy this post and learn something from it. That’s my intention!
You can learn more about React Native through React Native official website.
You can so learn about UI/UX Design.